Xcode Previews have been added in Xcode 11 and allow you to quickly preview the current state of your view. Although you might think that you need to use SwiftUI to make use of this great new feature, it’s not true! Whether you’re working with a custom UIView or with a custom UIViewController, they both support previews in the new canvas. This is great, as this new feature allows you to iterate fast and implement designs even faster.
Note: You need Xcode 11+ and macOS Catalina or up to use Xcode Previews
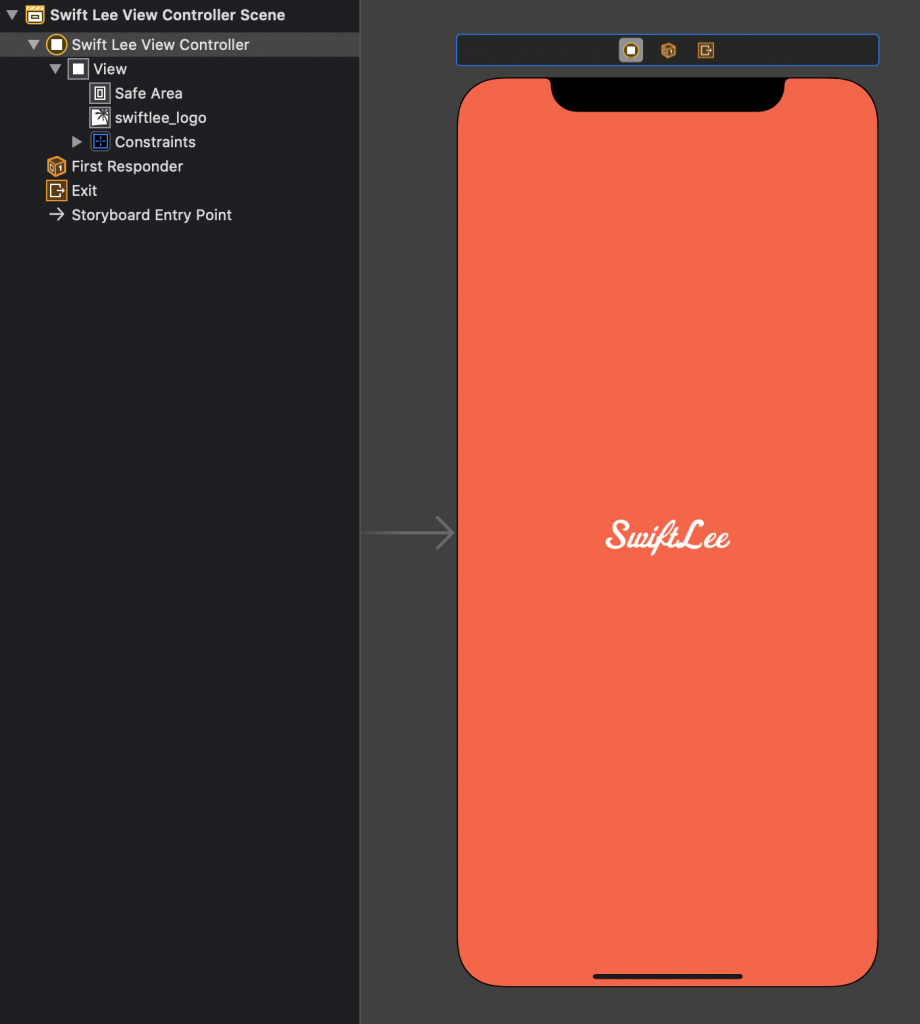
The SwiftLee view controller we’re about to preview
In the following example, we have a very simple SwiftLeeViewController which shows the SwiftLee logo in a UIImageView. The view controller is set up right from the interface builder:

And the code for the view controller is empty:
final class SwiftLeeViewController: UIViewController {

}Using Xcode Preview while supporting older iOS versions
WWDC is great, but a big downside is that you’re probably not going to use many new features until you drop iOS 12. Xcode Previews, however, does not have to be such feature!
The trick is to set the OS deployment target to iOS 13 while developing. This allows the canvas to generate previews, just like it does with SwiftUI.
But how do I use these protocols which are only available from iOS 13 and up?
We can make use of the canImport for this, together with the availability APIs.
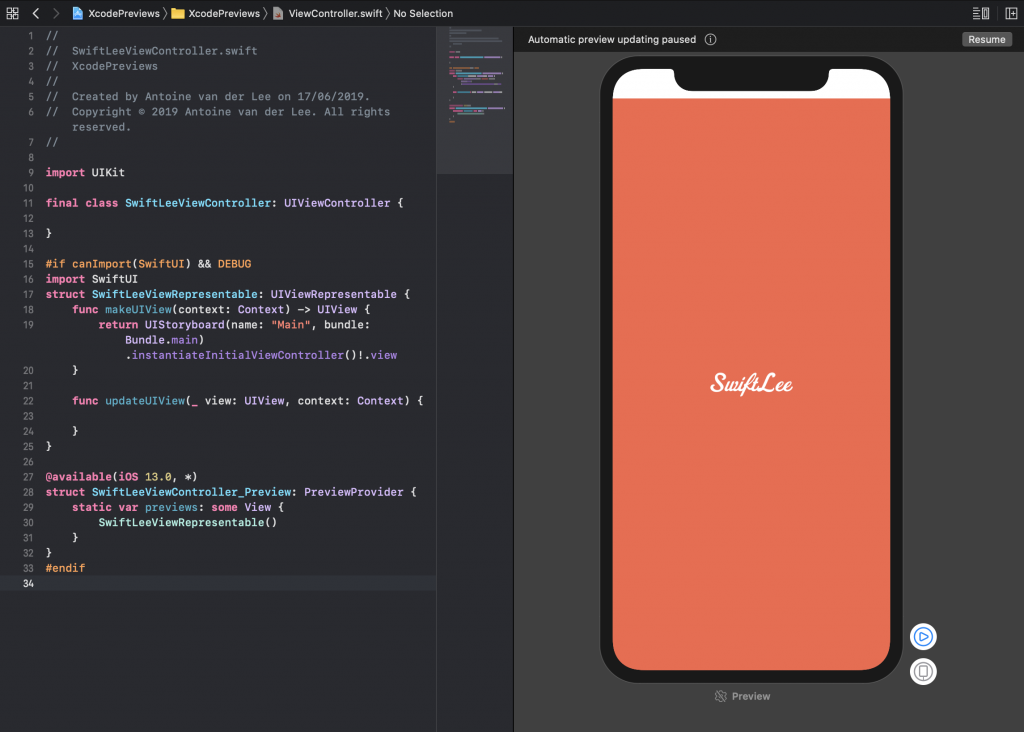
To add support for our SwiftLeeViewController we have to add the following code:
#if canImport(SwiftUI) && DEBUG
import SwiftUI
struct SwiftLeeViewRepresentable: UIViewRepresentable {
    func makeUIView(context: Context) -> UIView {
        return UIStoryboard(name: "Main", bundle: Bundle.main).instantiateInitialViewController()!.view
    }

    func updateUIView(_ view: UIView, context: Context) {

    }
}

@available(iOS 13.0, *)
struct SwiftLeeViewController_Preview: PreviewProvider {
    static var previews: some View {
        SwiftLeeViewRepresentable()
    }
}
#endif
Let’s break this down.
We start with the canImport which makes sure that our project still builds for developers without the latest Xcode version. They might not be able to import the SwiftUI framework yet.
Do note that we only import the SwiftUI framework for our debug configuration, so we will never import this framework in shipped code.
The SwiftLeeViewRepresentable is our wrapper and converts our UIView to a SwiftUI View. Inside the makeUIView method we basically instantiate our view controller. This method can be used to instantiate any view, also a custom view or a view controller created from code.
We end with the SwiftLeeViewController_Preview implementing the PreviewProvider protocol. This will automatically enable the preview canvas in Xcode and will actually show the preview! We only have to return the SwiftLeeViewRepresentable instance to make this work. We use the @available code to make sure our code still builds if we ever change back the OS version for our debug configuration as well.

The only thing you need to do is switching your project settings to iOS 13.0 while developing. Once your UI is done, you can switch back to the minimum iOS version you’re supporting. The best thing is to set this version fixed for your release builds. For example, when you support iOS 11 and up:

Conclusion
Although the workflow requires you to switch the OS version, it does allow you to use the Xcode previews. This can improve development speed and allows you to start working with Xcode Previews before you drop iOS 12 support.
If you like to improve your SwiftUI knowledge, even more, check out the SwiftUI category page. Feel free to contact me or tweet to me on Twitter if you have any additional tips or feedback.
Thanks!