You have a great app idea but you wonder: how to develop an app for iOS? Where do I even start? You might also question whether it’s even realistic to think you’re able to build an app for iOS yourself. While it’s definitely not easy, with nowadays tools you can get a long way!
There’s related app development software and there are many tutorials that teach you specific things. These are all great, but you first need to get yourself up and running, understanding the landscape of how you develop an app for iOS.

Can I develop and app for iOS for free?
Before we dive into specific steps for iOS app development, you must know that you can get started for free. If you decide to release your app into the App Store, you must join Apple’s developer program, which will cost you $99 per year.
I’d love to talk to an expert first, is that possible?
Investing time and energy into building an app is a big step. It would be a waste of time if you find out your app idea is impossible to create. If you want to answer specific questions or confidentially discuss your app idea’s feasibility, I recommend talking with an app development expert first. I’ve been developing apps since 2009 (iOS 4) and am available to book an app development expert 1-on-1 here.
Develop an app for iOS, step by step
Developing an app is a case per case journey as each app will be unique. You might need location access for one of your app ideas while other apps are a simple representation of some recipes. It’s important to teach yourself how to apply several resources into the same individual app project. Once you own that skill, you’ll be able to grow your app idea for iOS into a publicly available app for the whole world.
How to develop an app for iOS, step by step.
- Get a macOS machine
To develop an app for iOS, you need to have a macOS machine at hand. Whether it’s a virtual machine or an actual MacBook, you won’t be able to build an iOS app without it. There are so-called hybrid solutions available, but I highly recommend native app development, which requires macOS with a Mac app provided by Apple: Xcode.
- Download Xcode
Xcode is the code editor provided by Apple. It allows you to write the code for your iOS app and comes with an iOS Simulator to run it on a virtual device.
You can download Xcode from the Mac App Store.
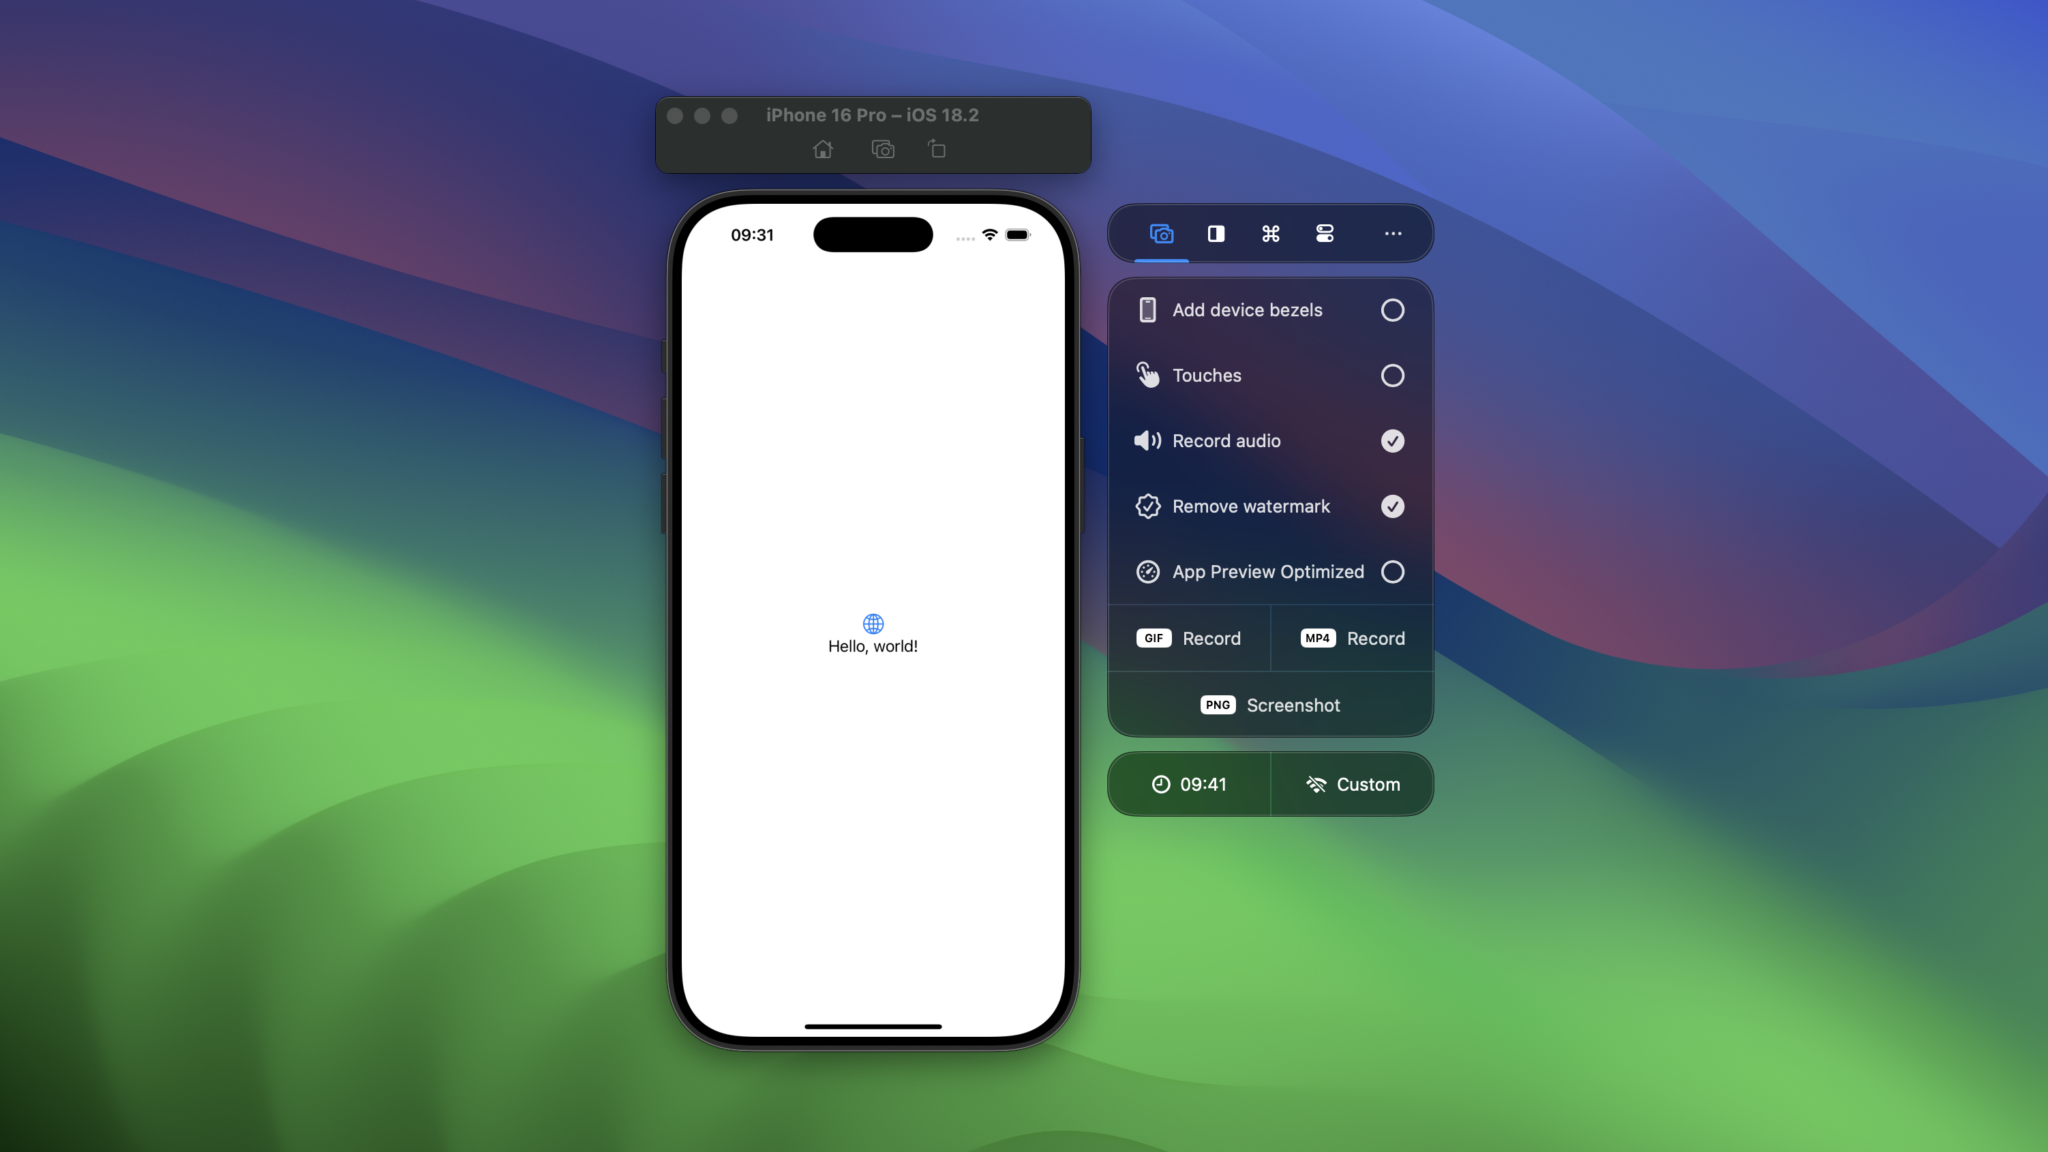
- Download RocketSim (Optional)
While this step is optional, it will be a great companion app during iOS app development. RocketSim adds 30+ features to Xcode’s Simulator and enables you to test features like Push Notifications, Networking, and Location Simulation.
You can download RocketSim from the Mac App Store. - Create a new app project in Xcode
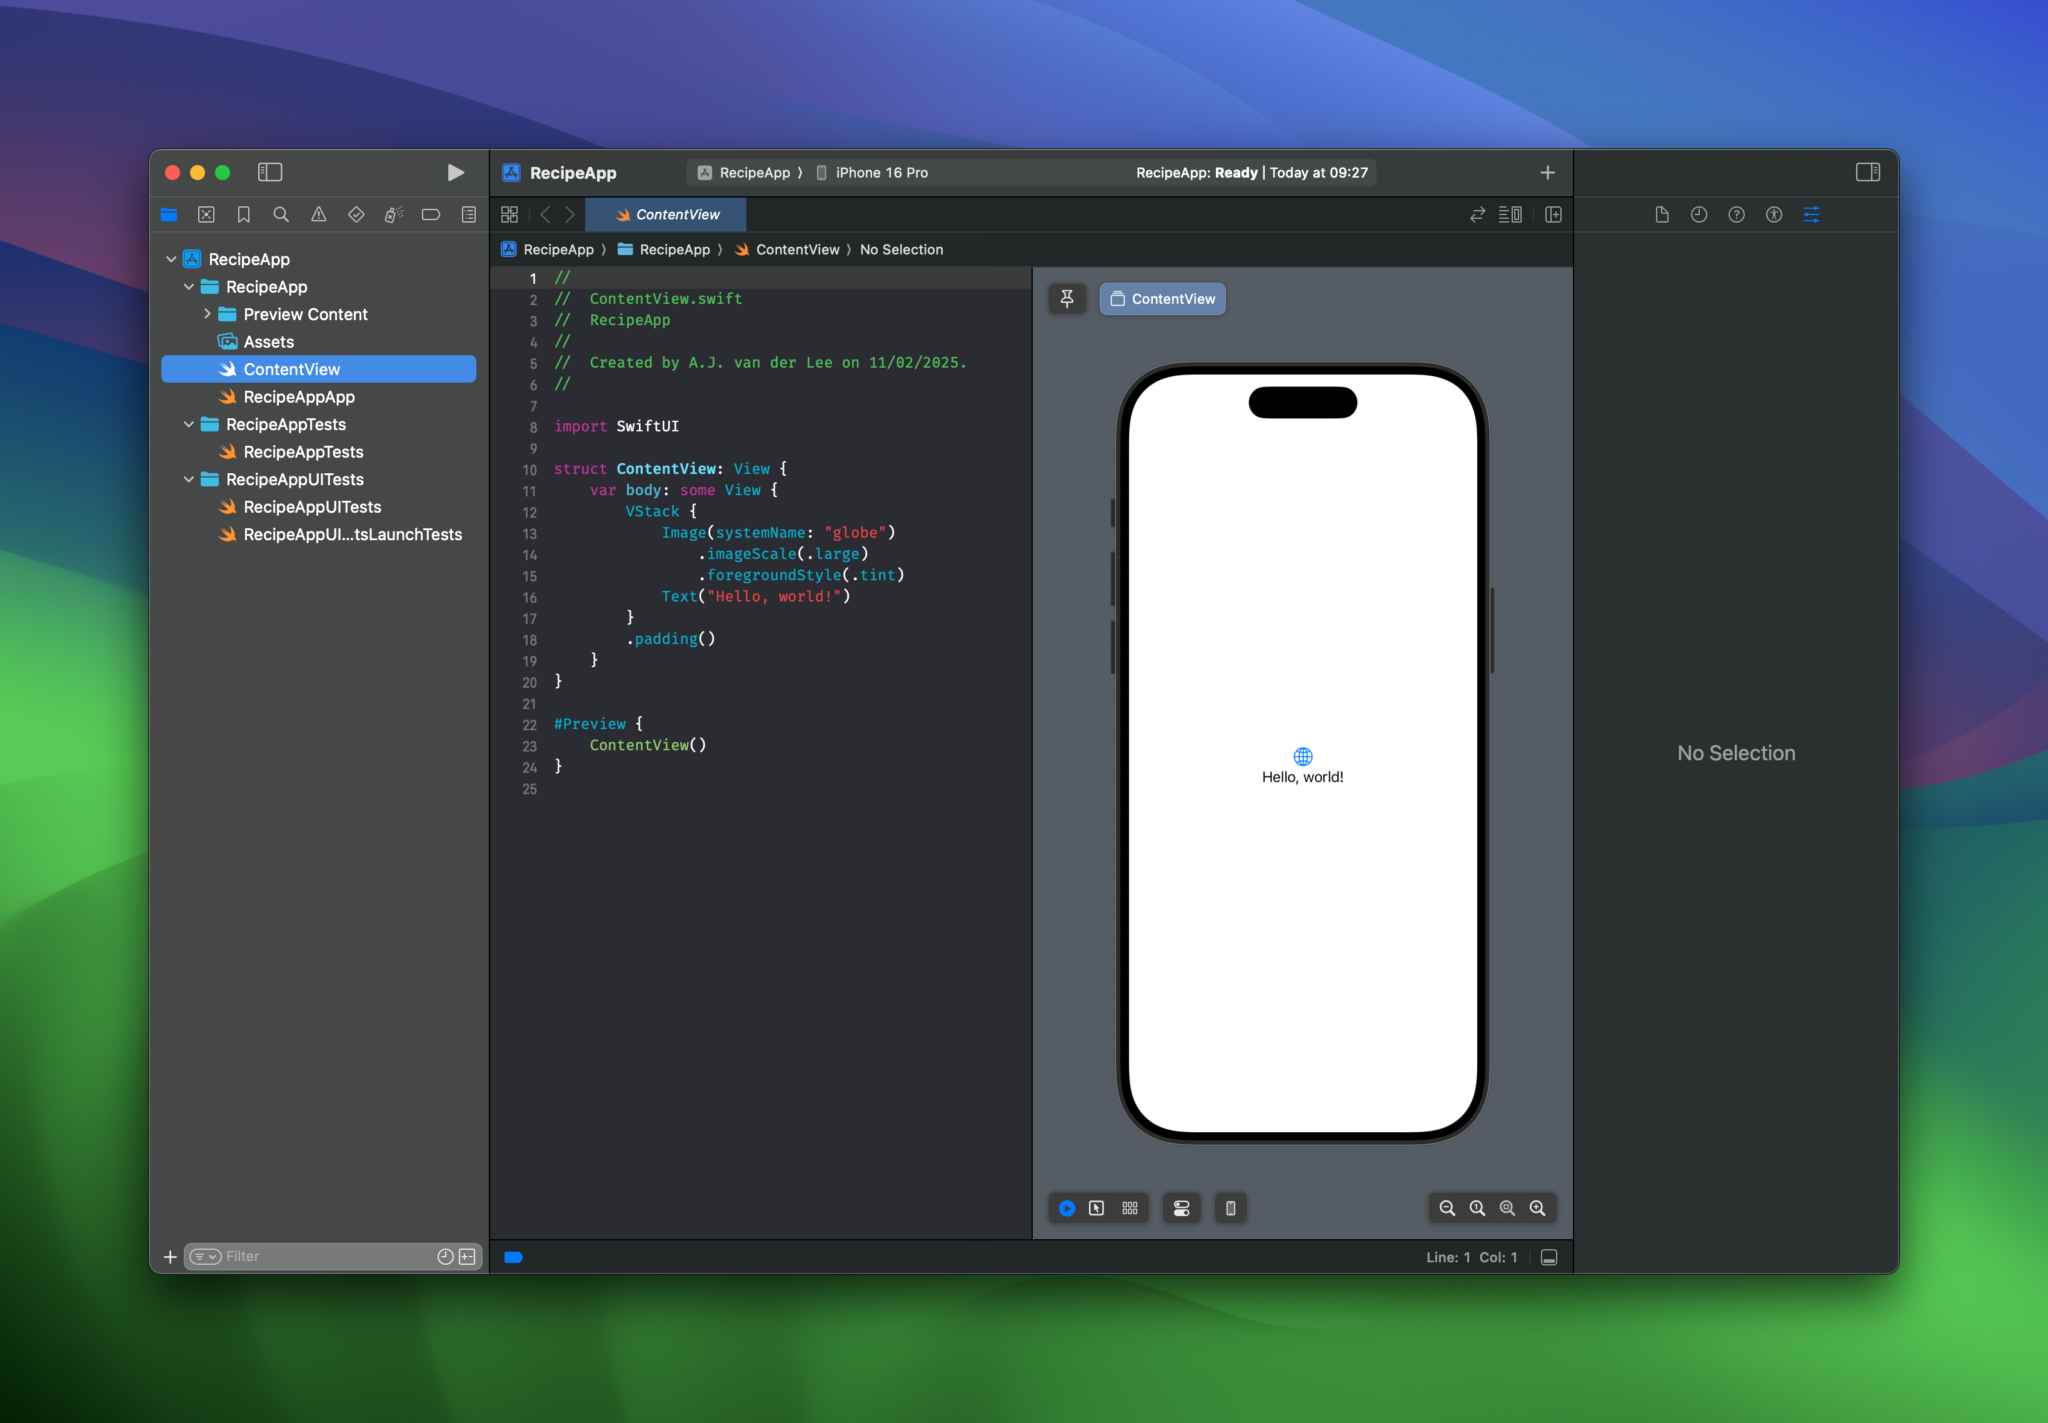
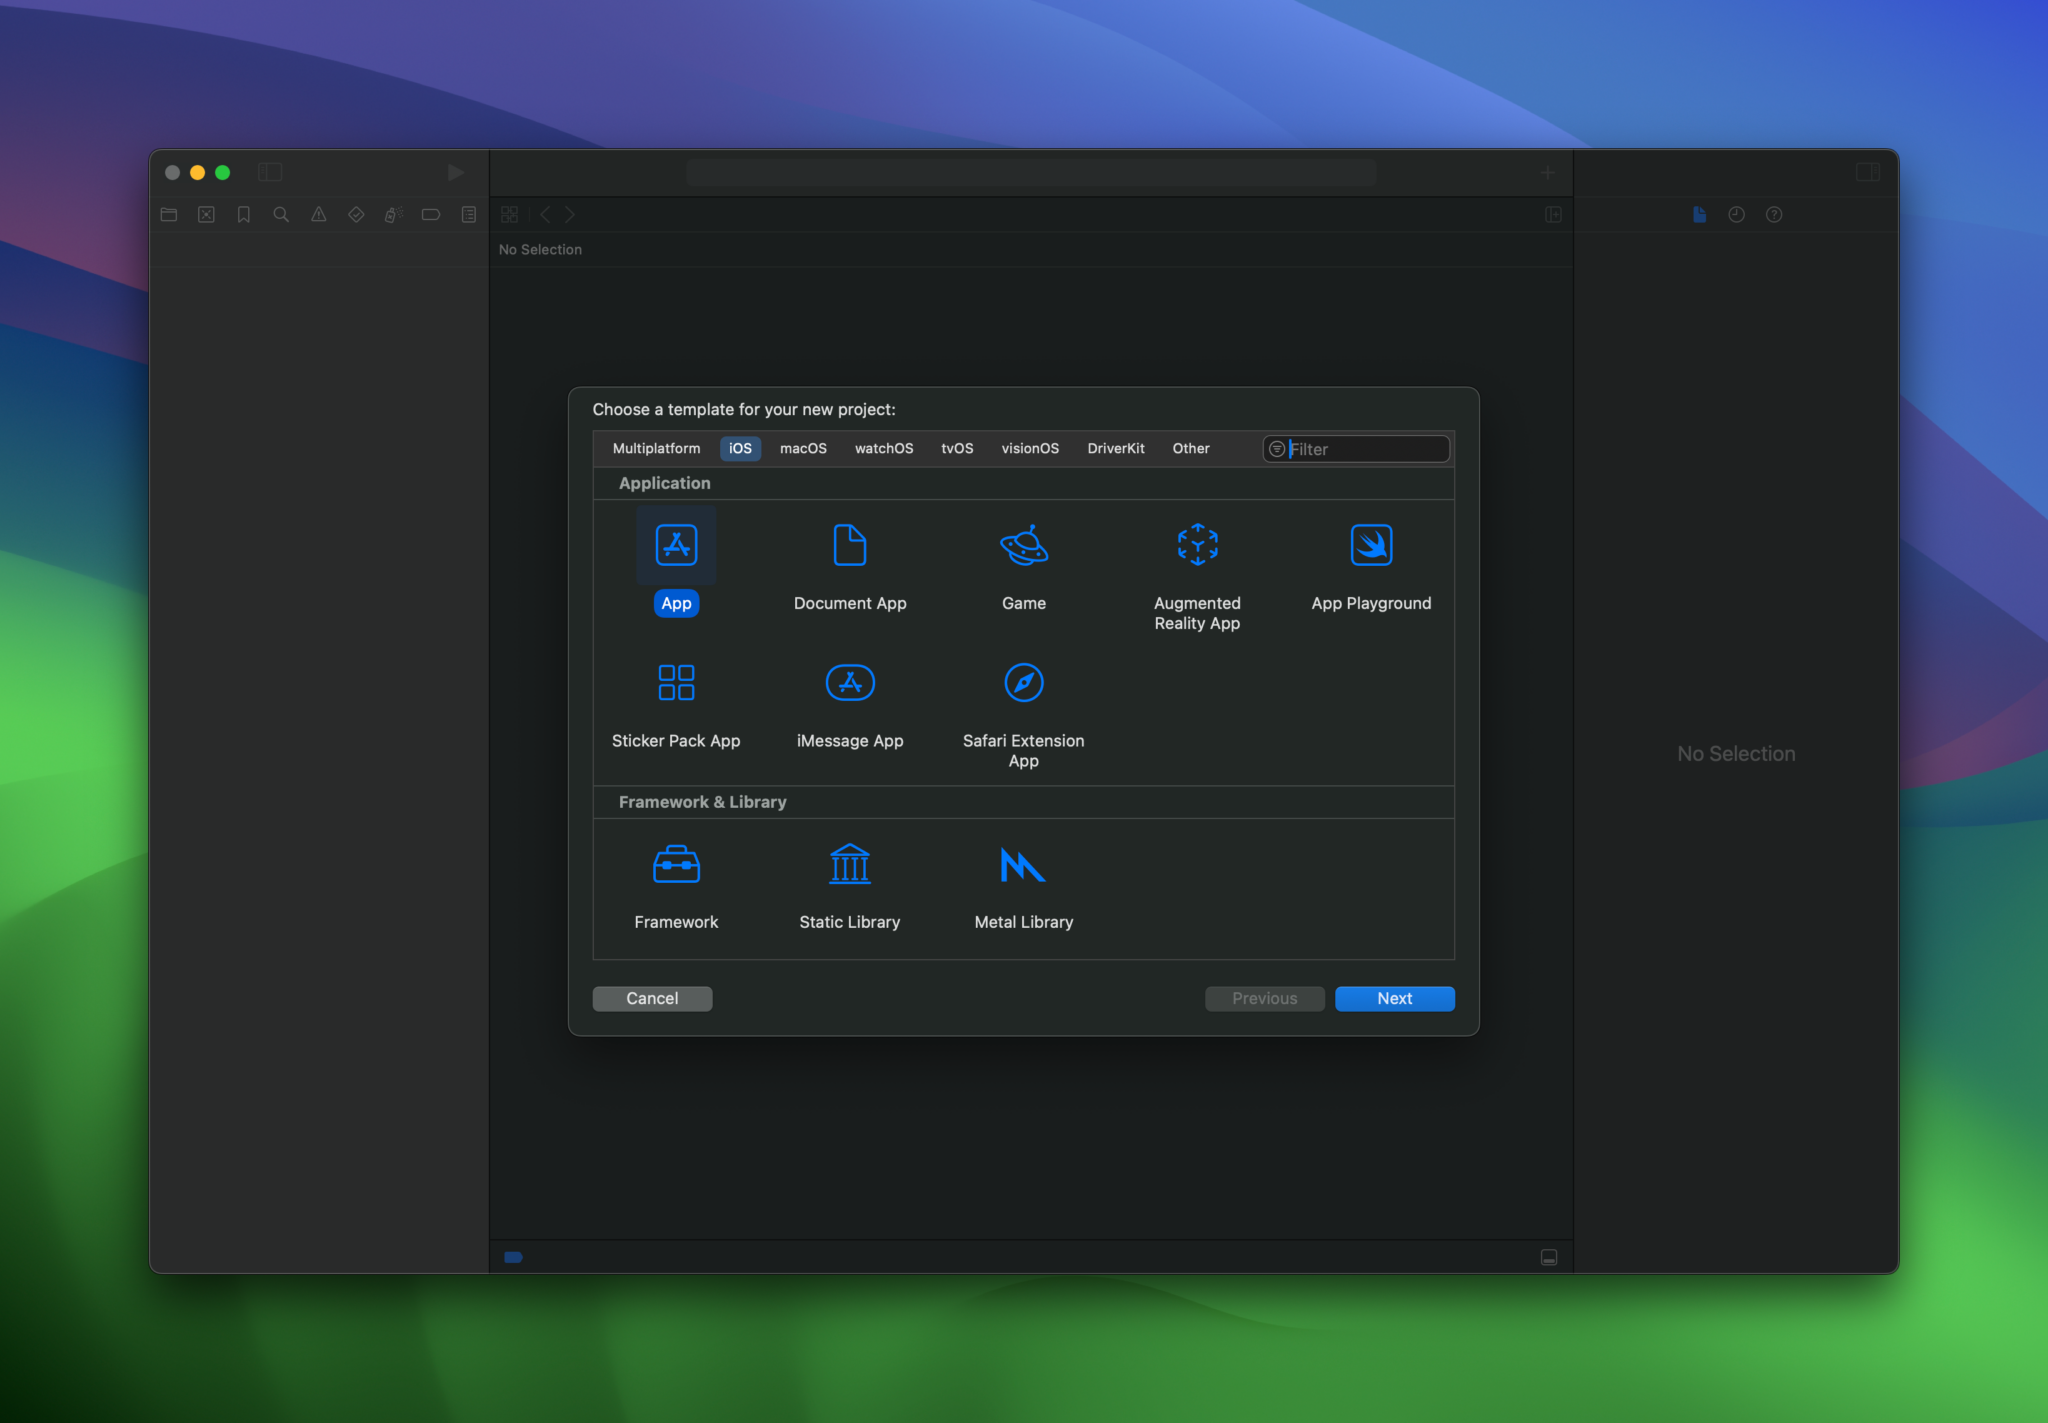
Once you’ve installed Xcode, you can create a new app project. You can focus on developing an app for iOS only or add support for multiplatform (iPadOS, macOS, etc.) right away.
- Run your project
It’s a fantastic feeling to see your app running on the iOS simulator. To enjoy this feeling for the first time, I encourage you to press the start button (
CMD ⌘ + R) and try the Hello World application. - Enhance your iOS Application
The Hello World starting project is not what you’ve had in mind. It’s time to develop your iOS application further by adding more features. It’s impossible to describe all the possibilities in this single article, so I encourage you to explore my other articles like Swift Tutorials: Learn Swift with Easy-to-Follow Code Examples or SwiftUI Button: Custom Styles, Variants, and Best Practices.
- Get better at app development
Following this article on how to develop an app for iOS is not enough to create a complete app. Building an app yourself is not easy: you need to invest in your knowledge. I have articles across categories like SwiftUI, Swift, and Xcode. All these categories will help you get better at developing apps.
- Follow newsletters an keep your self updated
Learning everything at once is impossible, and the app development world is constantly evolving. Keeping yourself updated is essential, so I highly recommend following my newsletter (20,000+ subscribers). I’ll do the hard work by compiling a once-a-week overview of curated articles, Swift language updates, and a code snippet to learn from.
- Join the Apple Developer Program
Before releasing your app into the App Store, you must join the Apple Developer Program.
- Release your app
Once you believe your app is ready to go live, it’s time to release it into the App Store. I recommend following Apple’s guidelines for this step.
- Share the word, grow, and progress!
Releasing your app is only the first step. Now it’s time to get more ratings for your app and share it with all your friends and family. If you want to take your app to the next level, I invite you to join my course “From Side Project to Going Indie.” It’s developed specifically for those that want to develop an app for iOS and make it successful.
Conclusion
How to develop an app for iOS is a question often asked by inexperienced developers. They have a great app idea but no idea where to start. By following the steps above, you can get yourself up and running. While it’s a long journey that requires knowledge investments and much trial and error, I’m convinced anyone can develop an app for iOS.
Good luck with building your first app, and don’t forget to join my newsletter: